Last updated November 17, 2026
 Sliding glass doors
 Single hung
 Double hung
 Horizontal roller
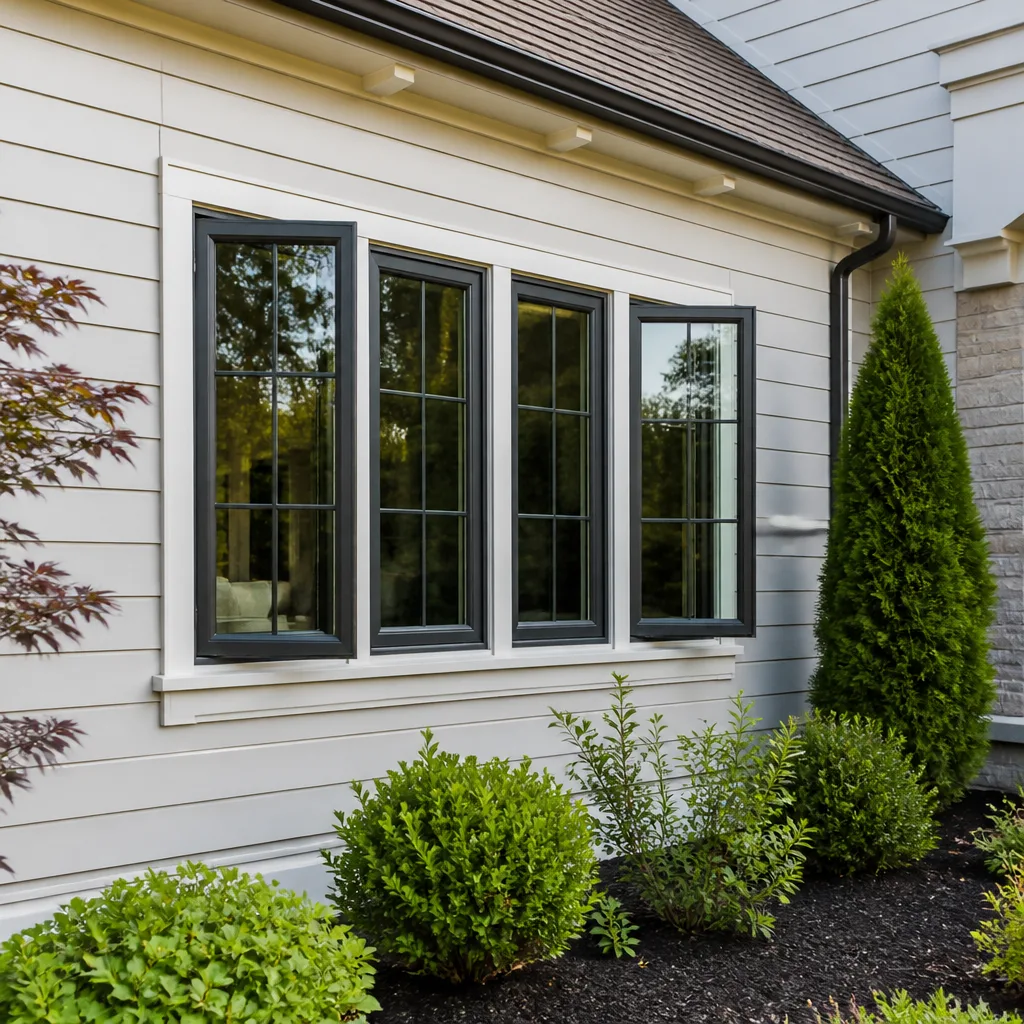 Casement
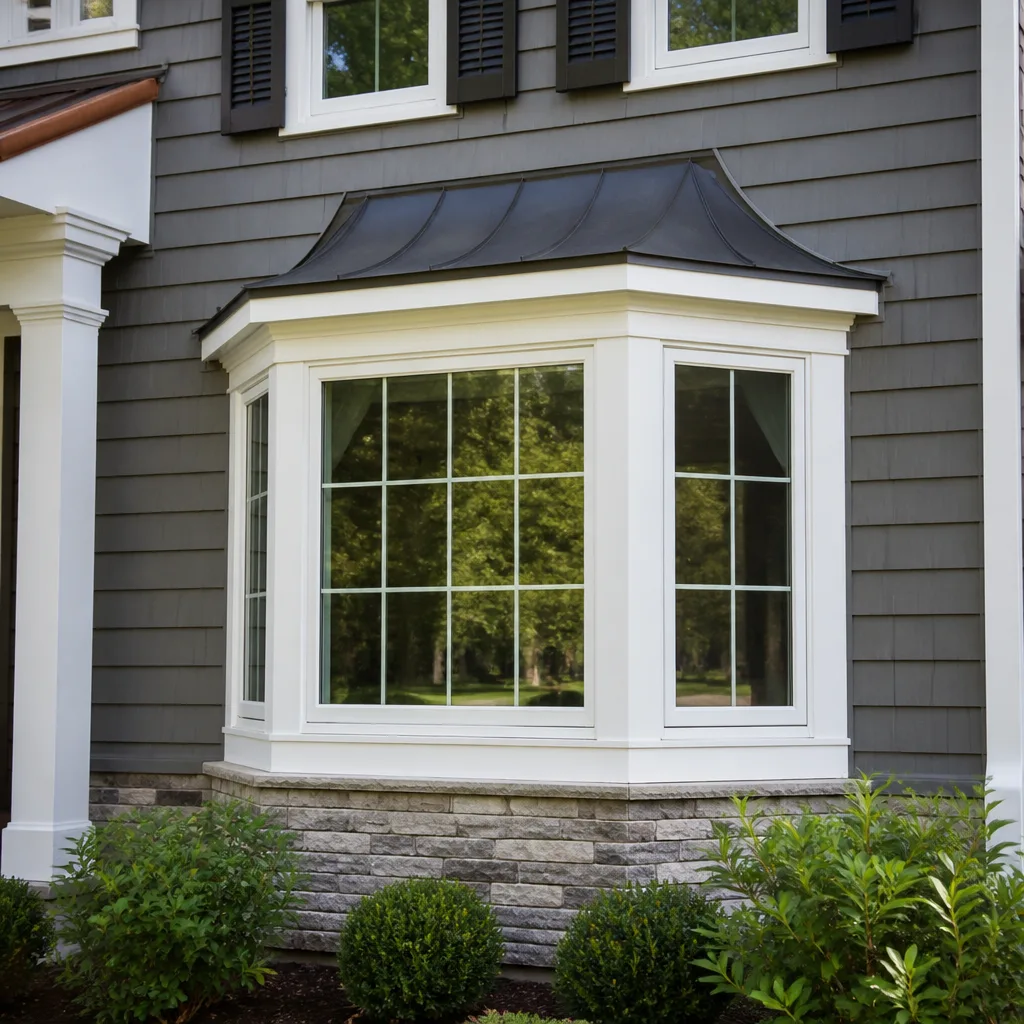 Bay & bow
 Entry doors
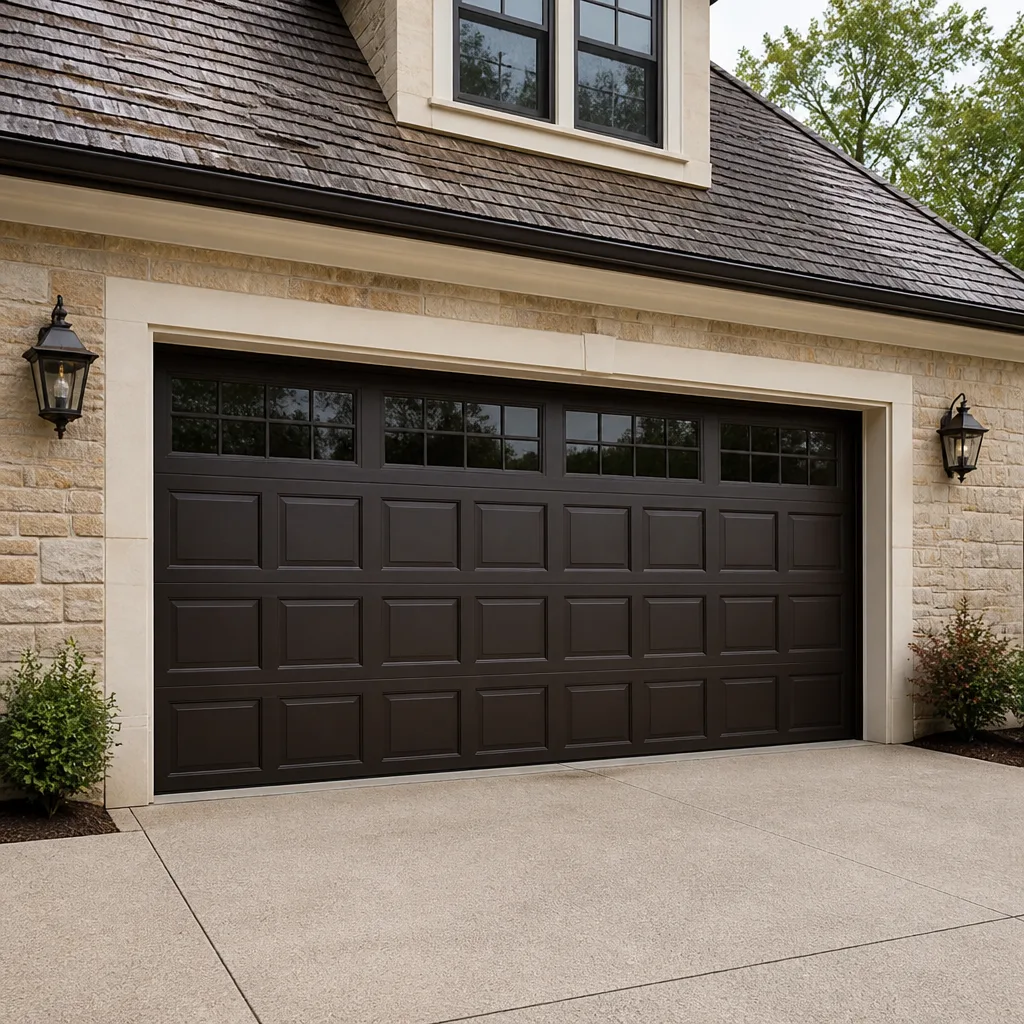 Impact garage doors
 PGT
 CGI
Free in-home measure and quote - PGT, CGI and CWS impact lines compared on your actual openings, style by style
Get your free estimateDIY vs Professional Windows & Doors: The Sunrise Manor Homeowner’s Decision Guide
A homeowner who successfully installs a window themselves in a wood-frame house has not necessarily completed a comparable job to one installed in a stucco home. The flashing integration alone requires steps that most online tutorials skip entirely, and in Sunrise Manor’s stucco housing stock that difference decides whether a window performs for decades or leaks within a season. This guide maps the DIY-versus-professional decision to the projects you’ll actually encounter here: what a stucco exterior demands, how manufacturer warranties treat self-installs, which tools and skills predict a good outcome, and where a professional install reliably pays for itself. We also cover the scenarios where a capable homeowner can genuinely save money.
Quick Answer
For most Sunrise Manor homeowners, professional installation is the better choice whenever the job involves full-frame replacement, stucco integration, permit inspection, or a manufacturer warranty you want to keep valid. DIY window installation in Sunrise Manor can work for a measured insert replacement over a sound, square rough opening with intact flashing detail, on a ground-floor window, by someone comfortable working at height with carpentry tools. Anything that opens the stucco wall cavity should go to a professional.
Styles & brands we work with
- Single hung
- Double hung
- Horizontal roller
- Casement
- Bay & bow
- Sliding glass doors
- Entry doors
- Impact garage doors
- PGT
- CGI
Table of Contents
- Why Stucco Changes the DIY Calculus in Sunrise Manor
- Insert Replacement vs Full-Frame Replacement: Which One Do You Actually Need?
- What Manufacturer Warranty Language Really Says About DIY Installation
- The DIY Capability Checklist: Skills, Tools, and Heights
- The Hidden Cost Risk: What You Find Once the Window Is Out
- Where Professional Installation Pays for Itself
- Doors Are a Different Project Entirely
- Common Mistakes to Avoid
- When to Call a Professional
- Frequently Asked Questions
- The Bottom Line
Why Stucco Changes the DIY Calculus in Sunrise Manor
Most DIY window tutorials are written for siding. Vinyl siding, fiber cement, wood clapboard: these all let you lift a course, slide a flashing flange behind the weather barrier, and re-fasten. Stucco doesn’t work that way. A stucco wall is a layered system of wire lath, scratch coat, brown coat, and finish coat, and the window flange has to be integrated into that system, not laid on top of it. In Sunrise Manor, where much of the housing was built in the 1980s through the 2000s with stucco exteriors, that detail matters more than the brand of window you pick.
What makes stucco integration hard for a homeowner is that it isn’t a window skill. It’s a stucco-patching and weather-barrier skill, and it lives on the other side of the window frame. Cutting back the finish coat to expose the flange, then re-flashing, then re-lathing, then re-stuccoing and re-texturing to blend, is a multi-step process with a narrow margin for error. Skip the step in the wrong order and water finds the gap. In our experience working on Sunrise Manor homes, most stucco-related window failures we see trace back to flashing detail, not to the window itself.
There’s also the neighborhood weather pattern. Sunrise Manor runs hot and dry for most of the year, then gets concentrated monsoon rain in the summer. A flashing detail that looks fine in a 100-degree dry spell may channel water into a wall cavity during the first real storm. The product type matters too: impact-rated lines such as PGT, CGI, and CWS handle the wind-borne debris side of monsoon season well, but only if the frame and flashing are right. Get the stucco integration wrong and no product choice saves you.
This is the single biggest reason the DIY question in Sunrise Manor is a different question than it is in, say, a wood-frame suburb in the Midwest. The window itself is often the easy part. The wall interface around it is where the real work lives.
Insert Replacement vs Full-Frame Replacement: Which One Do You Actually Need?
This distinction decides your entire DIY calculus. An insert replacement (also called a pocket replacement) sets a new window inside the existing frame, leaving the original frame and exterior stucco untouched. A full-frame replacement removes the entire window assembly including the nailing flange, which means opening the exterior cladding.
Insert replacements are dramatically more DIY-accessible. You measure the interior opening, order a window built to that measurement, pull the old sash and stops, set the new unit into the pocket, shim, insulate, trim, and seal. No stucco is cut. No flashing is rebuilt. The rough opening is already there and you’re working inside it. A careful homeowner with carpentry experience and the right tools can complete this.
Full-frame replacements are where most DIY attempts go wrong. Removing a window from a stucco wall means cutting the finish coat back to expose the flange, prying the old frame loose, addressing whatever is behind it, then setting a new flanged window, integrating new flashing into the existing weather barrier, and re-doing the exterior finish to match. That’s a window installation scope plus a stucco scope. Very few homeowners have both skill sets.
How do you know which one you need? Consider the following:
- If the existing frame is sound and square, the wall cavity is dry, and you’re only after new glass, better energy performance, or a fresh look, an insert is usually the answer.
- If the existing frame is rotting, out of square, or storm-damaged, or if you want a different window shape, a full-frame replacement is required.
- If you’re changing the window’s position or size, that’s full-frame all the way.
- If you’re chasing a specific performance target like improved impact resistance for the whole assembly, the answer often lands on full-frame too, because the flange and flashing are part of the performance.
For a Sunrise Manor homeowner considering DIY, the honest recommendation is: if the answer is insert, DIY is on the table. If the answer is full-frame, it isn’t.
What Manufacturer Warranty Language Really Says About DIY Installation
Read the warranty before you pick up a pry bar. Most window and door manufacturers write installation requirements directly into their warranty language, and a large share require installation by a qualified or licensed professional for the warranty to remain in force. The phrases to look for are “proper installation by a licensed contractor” or “installation in accordance with manufacturer instructions by a qualified installer.”
“Improper installation” in a warranty denial usually doesn’t mean the homeowner did a bad job. It means the manufacturer determined the failure traced to something outside the product, which is the manufacturer’s way of saying “not our problem.” A leak at a corner where the flashing wasn’t integrated? Improper installation. A fogged glass seal after two years on a window that was slammed into an out-of-square opening? Improper installation. A door that swells and sticks because it was installed without the shim pattern the manufacturer specifies? Improper installation.
The warranty claim you’d likely need most is also the one most likely to be denied on a DIY install: water intrusion. That’s exactly the failure mode a stucco-wall mistake produces, and it’s exactly the claim a manufacturer will attribute to installation rather than product. You can spend years believing your new windows are covered and discover at the worst moment that they aren’t.
When Sunrise Manor Windows & Doors installs a window, the manufacturer’s installation requirements are part of the job. Certified installation isn’t a sales line for us. It’s the reason a manufacturer will honor a claim instead of finding an excuse to close it out. If you’re weighing DIY to save money, weigh that against the risk of a warranty denial on a window that should have been replaced free.
The DIY Capability Checklist: Skills, Tools, and Heights
If you’re still considering DIY for a Sunrise Manor window replacement, run this checklist honestly. If you can’t tick most of the boxes, the professional route is the safer call.
Skills
- You’ve set a door or window before and understand shimming, leveling, and squaring an opening.
- You’re comfortable reading a tape measure to 1/16 inch and transferring those numbers onto an order form without error.
- You understand how to flash an opening and why the order matters (bottom, then sides, then top for most assemblies).
- You can seal with a quality exterior sealant and tool a clean joint.
- For insert replacements: you can remove interior trim without destroying it and re-install it cleanly.
Tools
- Pry bars, a flat bar, and a utility knife
- A quality 25-foot tape measure and a 4-foot level
- A cordless drill-driver and impact driver
- Low-expansion spray foam designed for window frames (not the high-expansion kind)
- Flashing tape and exterior-grade sealant
- A ladder tall enough to safely reach the window exterior, with a spotter
Comfort with Heights
Second-story windows are where DIY installs go from ambitious to dangerous. Opening a window on an upper floor while on a ladder with a pry bar in one hand is a fall risk. If you can’t safely reach the exterior of the window from a stable platform, stop here.
Where DIY Reliably Fails
In our experience, the projects that go wrong on DIY installs share these traits: upper-floor locations, full-frame replacements, stucco exteriors, existing water damage, or a homeowner who’s learned the tool use from video but never framed a window’s flashing detail. Any one of these present is a reason to bring in a professional. Two or more is a strong signal. Sunrise Manor’s housing stock alone puts many local projects into the “bring in a pro” column before any of the other factors even enter the picture.
The Hidden Cost Risk: What You Find Once the Window Is Out
The cost of a DIY window job isn’t just the window plus materials. It’s the window plus whatever’s behind the wall. In a 1990s tract home – and Sunrise Manor has plenty of them – pulling a window often reveals surprises that turn a one-afternoon project into a multi-week rebuild.
The most common findings:
- Rotted framing around the original rough opening, usually near the sill or in the corners where old flashing failed.
- Pest damage, including termite or rodent intrusion that found a path through an old gap and has been there long enough to compromise studs.
- Out-of-square rough openings, common after decades of heat cycling and stucco movement. A window built to nominal measurements won’t sit flush in an out-of-square opening without re-framing.
- Failed original flashing, which means you inherit a repair scope you didn’t budget for, at the worst possible moment: the wall is now open and it’s raining somewhere in the forecast.
- Missing or damaged house wrap behind the window that needs to be repaired before the new unit goes in.
When Sunrise Manor Windows & Doors hits one of these, the response is a written change order explaining the scope before work continues. A DIY install hits it mid-wall-open with no fallback. You either stop and call a professional mid-project (paying twice for part of the job), or you press forward with a compromised install that becomes a wall-repair project later. The price of the window is known. The price of what’s behind it only appears once the window is out, which is exactly the wrong time to be learning how that works.
Where Professional Installation Pays for Itself
Professional installation isn’t the right call for every project, but there are specific areas where it clearly earns its keep. Here are the four where we see the difference most consistently.
1. Permit and Code Compliance
Most cities require a permit for window replacement, and the inspection confirms the flashing and installation meet code. Sunrise Manor projects that skip the permit are exposed if they ever sell the home or if a code official is required to look at the job after a problem. A licensed professional pulls the permit and manages the inspection, which is a lot of paperwork hours a homeowner avoids.
2. Energy Code Requirements
Nevada’s energy code requirements for windows in this climate zone are specific about performance ratings, and a non-code-compliant window can be a real headache when you go to sell. Energy-efficiency-focused lines such as ECO Window Systems and ES Windows are built to these requirements, but installation quality determines whether the assembly actually performs at the rated level. A window rated well and installed badly performs like a cheap window.
3. Manufacturer Warranty Protection
As covered above, qualified installation is what keeps the warranty valid. A professional installation also hands you a paper trail: receipts, manufacturer paperwork, and an installation warranty from the contractor. That’s the difference between “the manufacturer says it’s not their problem” and “the manufacturer is replacing this under warranty.”
4. Stucco Integration
This is where full-frame replacement in Sunrise Manor consistently justifies professional installation. The exterior finish scope inside a full-frame window replacement is a specialist’s job, and mistakes here are the ones that surface as leaks within the first rainy season.
Where a professional install doesn’t pay for itself: a single ground-floor insert replacement on a sound frame in a home with clean, dry walls, done by a careful homeowner, is a legitimate DIY project. That’s the one scenario where saving money makes sense. Anything more involved, the risk-adjusted math tilts toward the pro. If you want to talk through your specific case, window replacement is where our team starts that conversation.
Doors Are a Different Project Entirely
Everything above about windows carries over to doors, only more so. An entry door is on a bigger opening, has a heavier swing weight, and its seal and hardware tolerances are far tighter than a window’s. If you hang a door that doesn’t sit true, you get daylight, drafts, and a lock that doesn’t catch right. That’s a harder fix than a window that isn’t quite square.
The same stucco integration challenge applies: a Sunrise Manor entry door cut into a stucco wall is not a “pull the old door, set the new one” project unless the new door is going into an existing, sound frame. Fiberglass entry doors such as those from Therma-Tru are built to close-tolerances that demand a well-set, plumb, square opening. In an existing 1990s rough opening with decades of heat movement, that’s not a given.
For patio doors, impact-rated and energy-rated glass carries the same installation-quality story. A ViewLux or PGT door is only as good as its installation, and the stucco interface is where installation quality shows up. Our window installation and door installation services cover both openings under one contractor, which matters because the flashing detail at a door has to be coordinated with the window detail next to it. If you want a single team handling the whole exterior opening scope, that’s the value of working with a specialist. If you’re weighing a professional install, Sunrise Manor Windows & Doors handles the door side of the project the same way as the windows.
Common Mistakes to Avoid
- Assuming all window tutorials apply to stucco. Most online guides are written for siding, and the flashing steps differ substantially. If a tutorial skips the stucco cutting and re-lathing step, it doesn’t apply to your Sunrise Manor home.
- Ordering a full-frame window for what’s actually an insert job. Or the reverse: measuring an insert when the frame underneath is rotting. Measure carefully, and if you’re not sure, have a professional confirm the scope before you order.
- Ignoring the warranty language until something fails. Read the manufacturer’s installation requirements before you install. If a licensed installer is required, DIY voids coverage on the failure you’re most likely to need.
- Working at height on a ladder while holding a pry bar. This is the single most common DIY injury pattern on window replacements. If you can’t reach the exterior from a stable platform, don’t do it yourself.
- Burying a rotted sill under a new window. In a 1990s tract home, the original silly flashing often failed years ago and the wood under it has been quietly softening. Fix it before you cover it.
- Using the wrong spray foam. High-expansion foam can bow a window frame out of square. Window-specific low-expansion foam is what the job calls for.
- Skipping the permit to save a step. Unpermitted window replacements can complicate a future sale, and the inspection is the part of the process that catches installation errors before they become leaks.
When to Call a Professional
Call a professional for any Sunrise Manor window or door project where the exterior stucco wall is opened, where the existing frame is damaged or out of square, where the window is on an upper floor you can’t safely reach from a stable platform, or where the manufacturer’s warranty requires qualified installation. Also call for any project involving doors, which demand tighter installation tolerances than windows and a coordinated flashing detail that’s hard to get right without experience. And call if you’ve started a project, opened a wall, and found something you didn’t expect – rot, pest damage, failed original flashing. A professional scope adjustment at that point is far less expensive than a compromised install or a mid-project restart.
Sunrise Manor Windows & Doors offers free estimates in Sunrise Manor – call (888) 335-0658. We answer 24/7. Fast dispatch from 7am to 7pm, Sunday through Friday.
Frequently Asked Questions
You can install a window yourself in Sunrise Manor if the job is a measured insert replacement over a sound, square rough opening with intact flashing, on a ground-floor window, and you’re comfortable working at height with carpentry tools. Full-frame replacements in a stucco wall involve cutting back the finish coat and re-integrating the flashing, which takes stucco and weather-barrier skills most homeowners don’t have. When in doubt, have a professional confirm the scope first. Call (888) 335-0658 for a free estimate if you’d like that conversation.
Often, yes. Most window manufacturers require installation by a qualified or licensed professional for their warranty to stay in force, and “improper installation” is the most common reason a claim is denied. The failure a DIY installer is most likely to need covered – water intrusion around the frame – is also the one most likely to be denied on a self-install. Professional installation keeps the warranty valid, which is worth more than the labor savings on a job where the manufacturer will have to choose whether to stand behind the product. Call (888) 335-0658 for a free estimate if you want to talk through your coverage options.
We don’t publish a price list because the scope varies so widely, but the estimate is free and written line-item. What drives the number is which replacement type you need (insert vs full-frame), whether the wall needs repair, the window’s performance rating, and how many openings the project covers. Impact-rated lines such as CGI and CWS cost more than standard energy-efficient units, and a full-frame replacement in stucco costs more than an insert. The written estimate is the final price and stays fixed as long as the scope doesn’t change. Call (888) 335-0658 to schedule your free estimate.
Most cities require a permit for window replacement, so ask the city’s building department about your specific address before starting. The permit and inspection confirm the flashing and installation meet code, and the inspection is the step that catches installation errors before they become leaks. A licensed professional pulls the permit for you and manages the inspection as part of the job. If you’re unsure what your project needs, call (888) 335-0658 for a free estimate.
The biggest risk is an entry door that doesn’t sit plumb and square, which leaves daylight around the frame, drafts, and hardware that doesn’t catch right. Doors have tighter tolerances than windows, and the stucco interface at a door has to be flashed and finished just like a window. Fiberglass doors such as Therma-Tru are built to close tolerances, and an out-of-square 1990s rough opening won’t accommodate them without re-framing. If you’re considering a DIY door project, have a professional confirm the rough opening first. Call (888) 335-0658 for a free estimate.
You may find rot in the framing near the sill or corners, pest damage in old gaps, failed original flashing, or an out-of-square rough opening that has shifted over decades of heat cycling. Any of these turns a window swap into a wall repair scope. We see them often enough that we plan for them as part of the estimate, and when one appears we issue a written change order before the work continues so the price stays predictable. Call (888) 335-0658 if you want to talk through what your project is likely to encounter.
The Bottom Line
In Sunrise Manor, the DIY-vs-professional question for windows and doors comes down to scope, not skill. Insert replacements over sound, square, dry openings are legitimately DIY-able for a careful homeowner. Full-frame replacements in stucco, upper-floor projects, door installations, and anything involving damaged framing should go to a professional, because the wall-side work, the warranty protection, the permit and inspection, and the energy code compliance are what a homeowner is really paying for. The right answer depends on your specific project. A free estimate is the fastest way to find out which side of the line your job falls on.
Get a Free Estimate
If you’re weighing your options and want an honest read on your specific project, call Sunrise Manor Windows & Doors at (888) 335-0658. We answer 24/7. Fast dispatch from 7am to 7pm, Sunday through Friday. Estimates are free, written line-item, and come with a fixed price the written scope sets. Our technicians have up to 8 years of experience across the eight manufacturer lines we carry – PGT, CGI, CWS, ES Windows, ECO Window Systems, Mr-Glass, Therma-Tru, and ViewLux – so the recommendation is chosen by your project’s requirements, not by what a single vendor is pushing. Whether you’re replacing a single window or every exterior opening in your Sunrise Manor home, we’d rather answer your questions now than have you find the answer after the wall is open. Call (888) 335-0658 to schedule your free estimate and find out exactly what your project involves.
Written by the team at Sunrise Manor Windows & Doors.
See the difference
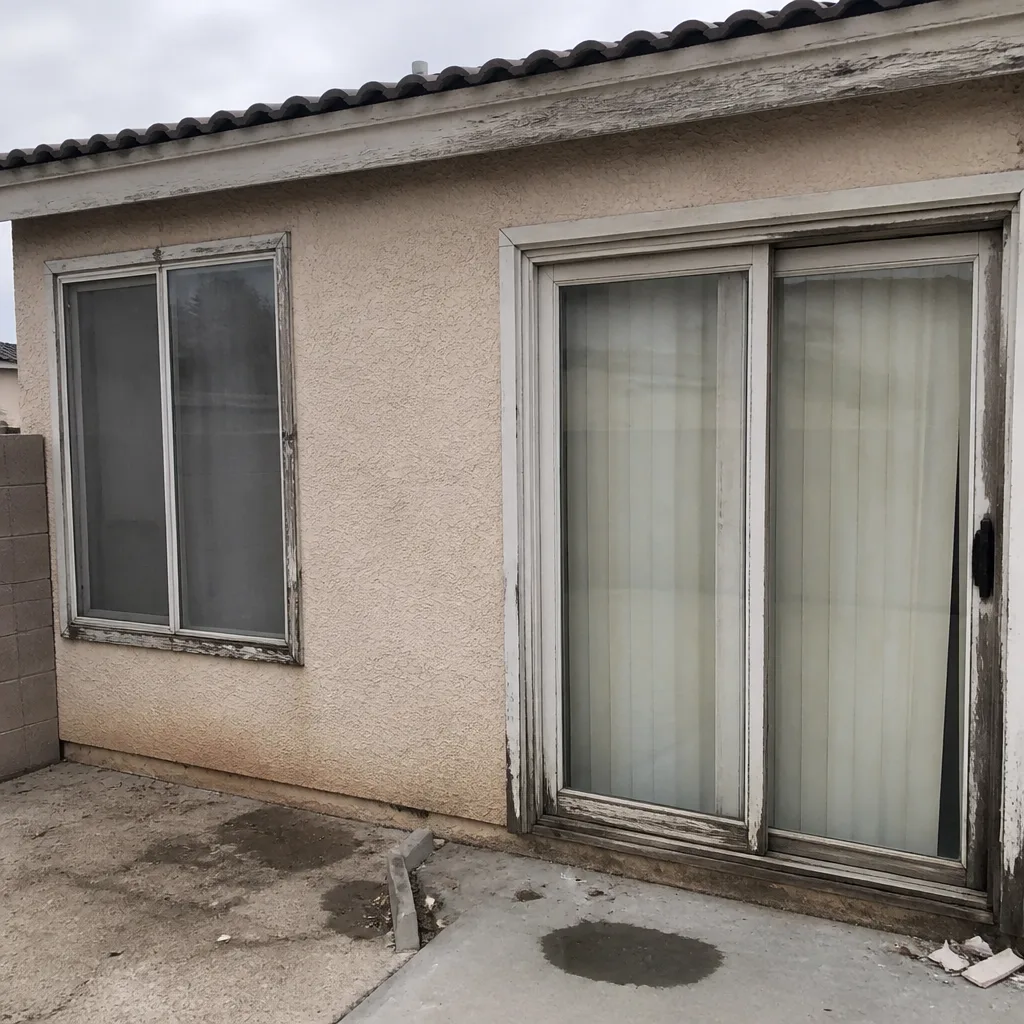 Before
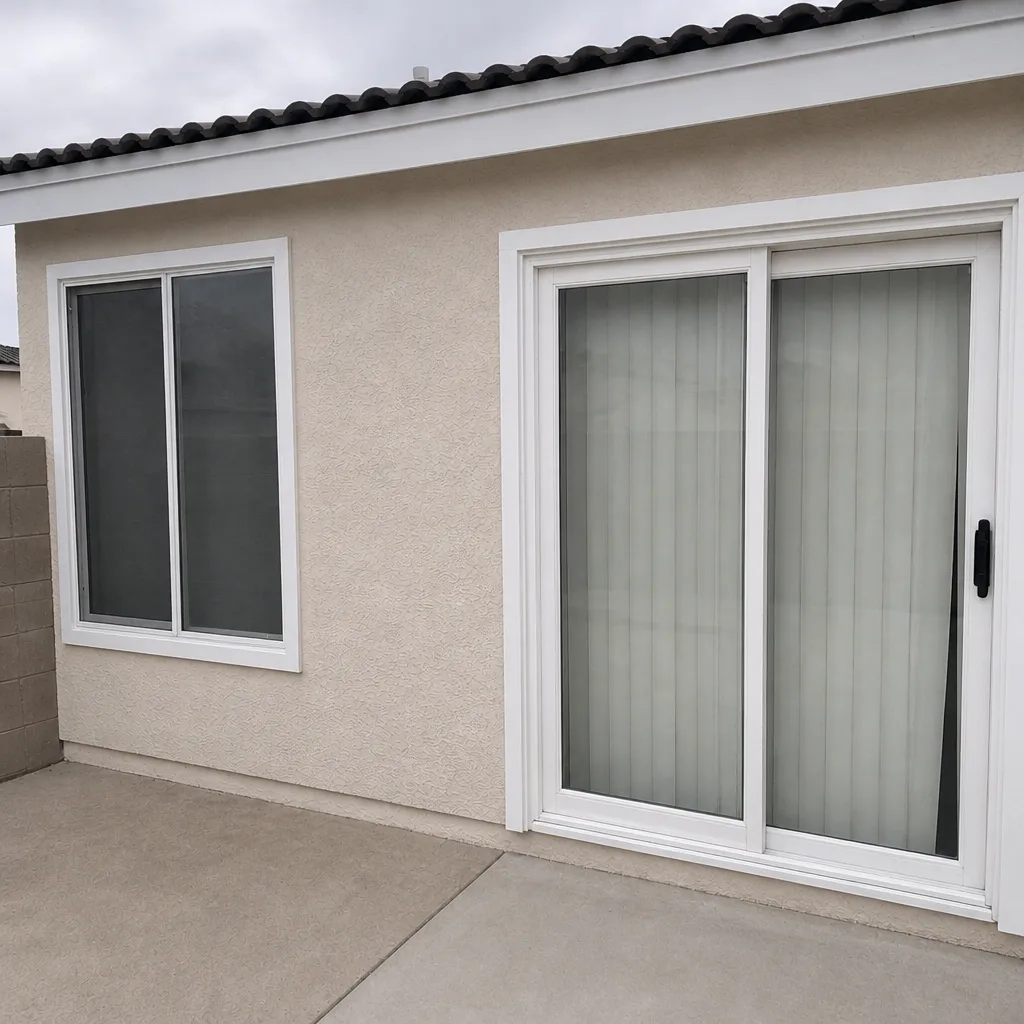 After
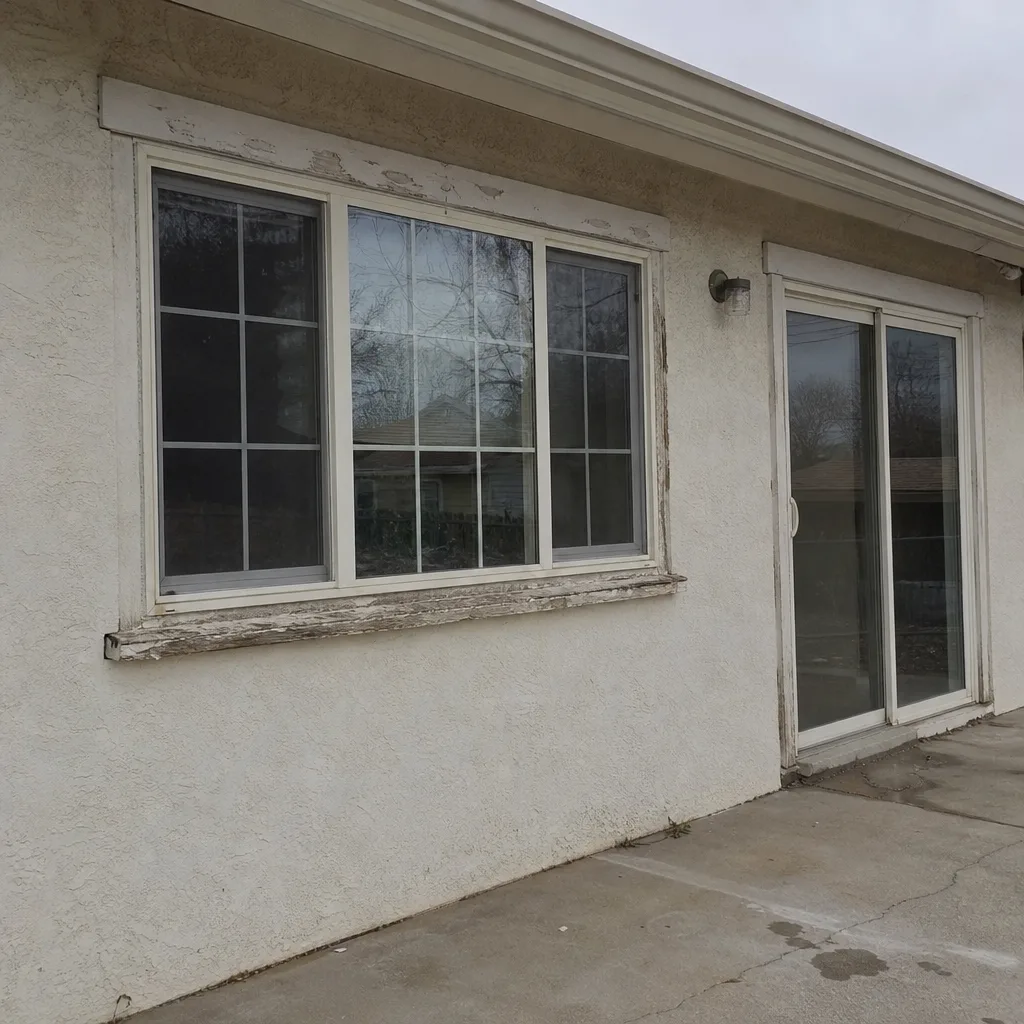 Before
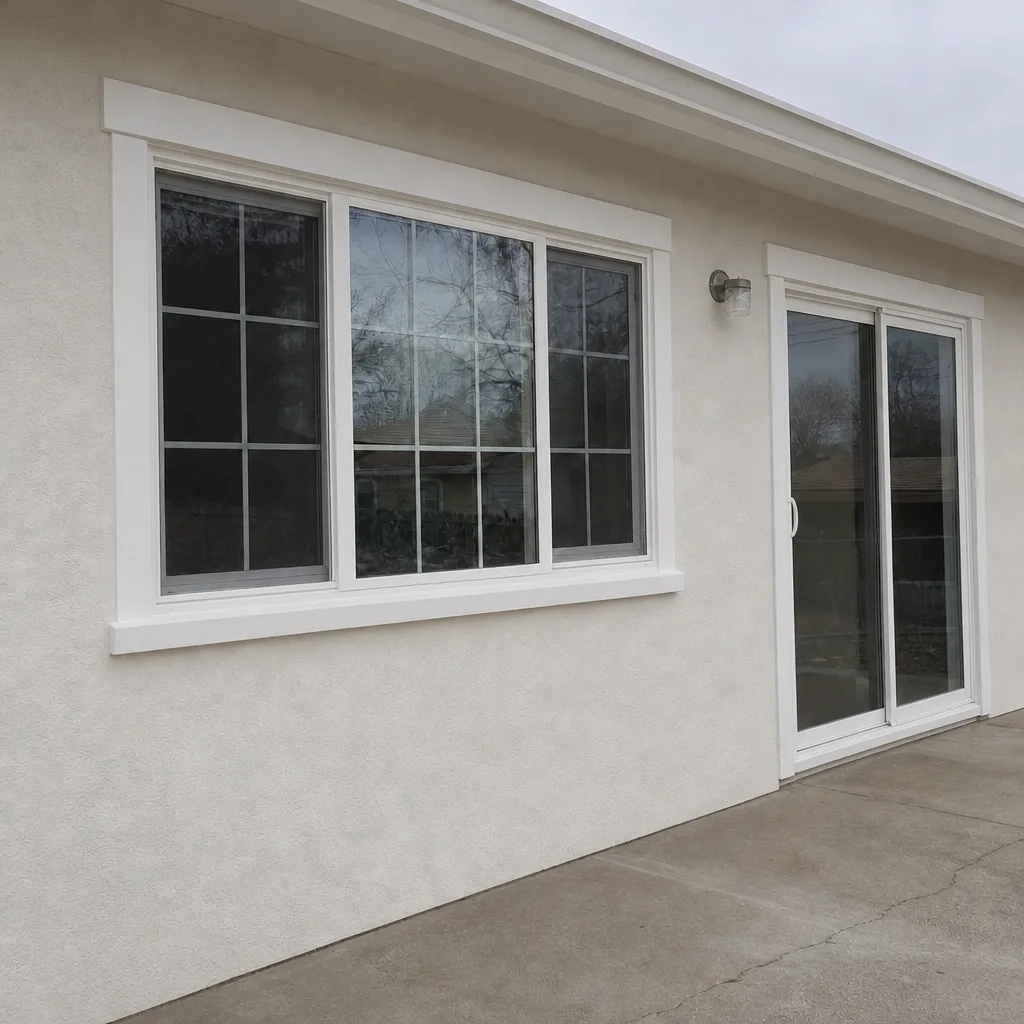 After
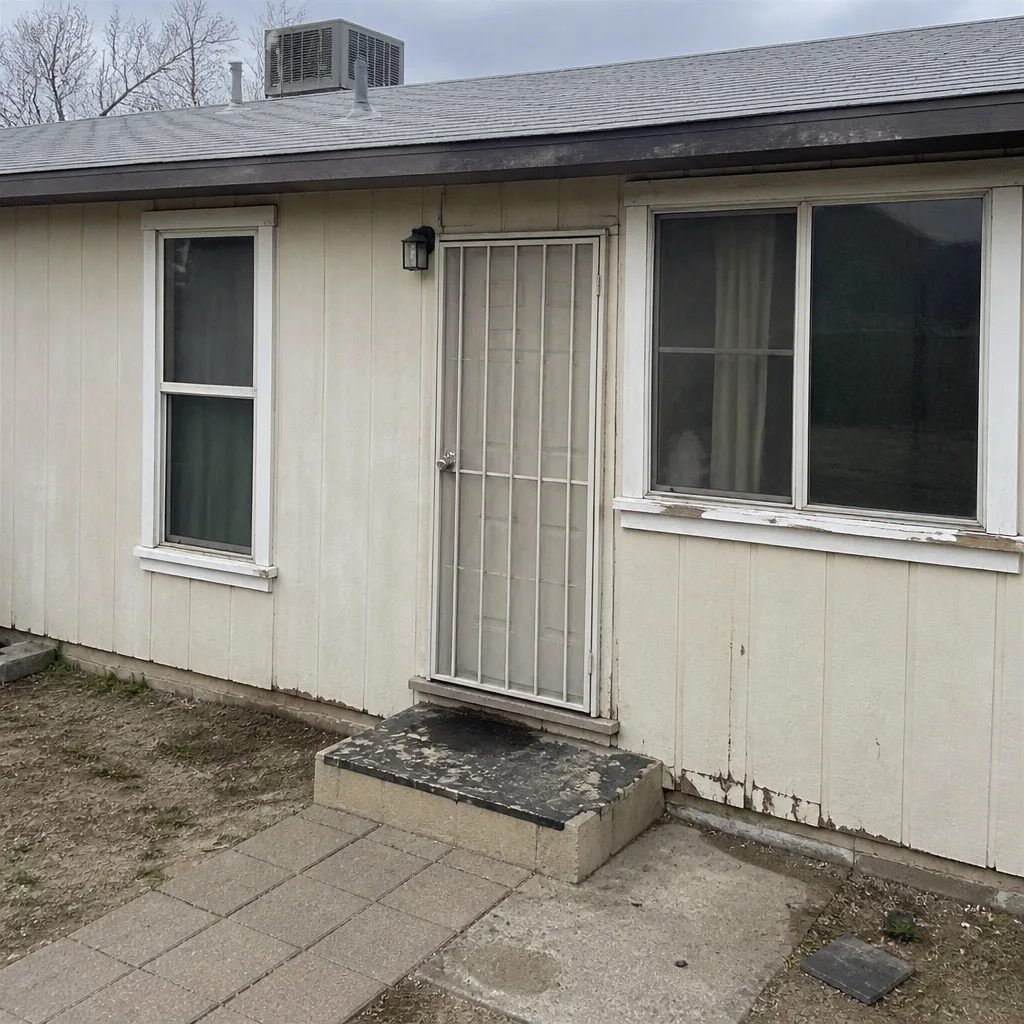 Before
 After